DIY Upcycled Cat Scratcher
This was originally a sponsored post. It has since been updated and revised.

The links in this post may be affiliate links. That means that if you click them and make a purchase, this site makes a commission. It will have no impact on the price you pay or the experience of your purchase.
I’ve always had cats, from White Cat who my parents originally received as a wedding gift long before I was born, to Chewie and Leia, our current furballs, who joined the family on Max’s 5th birthday. As much as love having cats, it’s no good when they scratch up the furniture, so this upcycled cardboard cat scratcher is the perfect solution!@
Keeping their paws cleaner is great, but so is giving them a good place to stretch their toes and scratch. According to the Humane Society, having a place to scratch is important for several reasons: It allows the cats to mark their territory, stretch their muscles and ligaments, and it helps shed the dead skin off their claws.
Because I always have a continuous supply of cardboard from my multitude of online shipments and various supplies, I wanted to figure out a way to replicate those corrugated cardboard scratchers I see at the store all the time. Once you spend a little time cutting the pieces of cardboard, it’s a total breeze to put together and your kitties are sure to love it!
Upcycled Cardboard Cat Scratcher

Supplies
- Cardboard boxes made of corrugated cardboard
- Utility Knife
- Straight edge
- Non-toxic glue
- Foam brush
- Catnip
- Adhesive Shelf Liner Paper
- Cut enough strips of cardboard to fill your base box. (Mine’s 2” tall, so the strips are 2” wide)

- Cut enough strips to fill your base tightly; mine took about 37 strips of the same length, yours may vary based on base box size and cardboard thickness.

- Wrap the base box with decorative adhesive shelf paper. This helps give it a really finished look and can match your decor!


- Sprinkle catnip into the base box before you start adhering the strips into the base.
- Using non-toxic classroom glue, glue the strips into the base box and to each other. Repeat until the box is full.
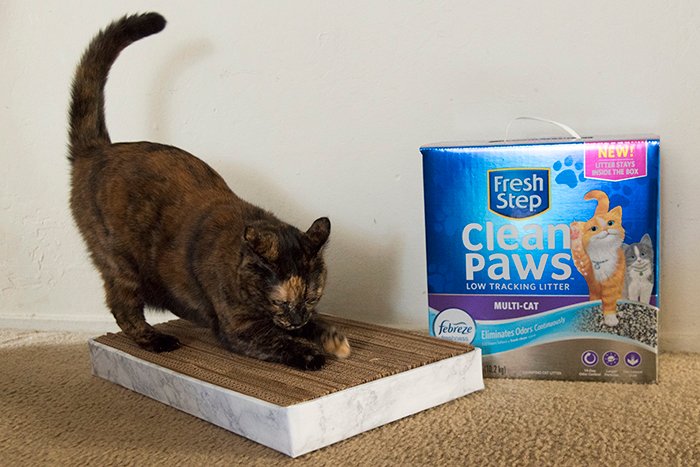
- You’re done, just add cat!


what non toxic glue did you use?
It says non-toxic classroom glue. I’d guess something like Elmer’s School glue but check the label of glue before deciding.